What is Smart Receipt Scanner?
Smart Receipt Scanner reads the receipts you upload (images or PDF) and turns them into claim details you can edit. Instead of typing in the date, amount and other details by hand, just upload your receipts and the system fills them in for you.
Is Smart Receipt Scanner supported in both AutoCount HRMS (Web) & AC Payroll (App)?
Currently it will only be supported in the AutoCount HRMS (Web). However, it will be supported in the AC Payroll (App) in the near future.
How to use Smart Receipt Scanner in AutoCount HRMS:
- Go to Submit Claim and add a new claim.
- Fill in description and date, then select the claim period.
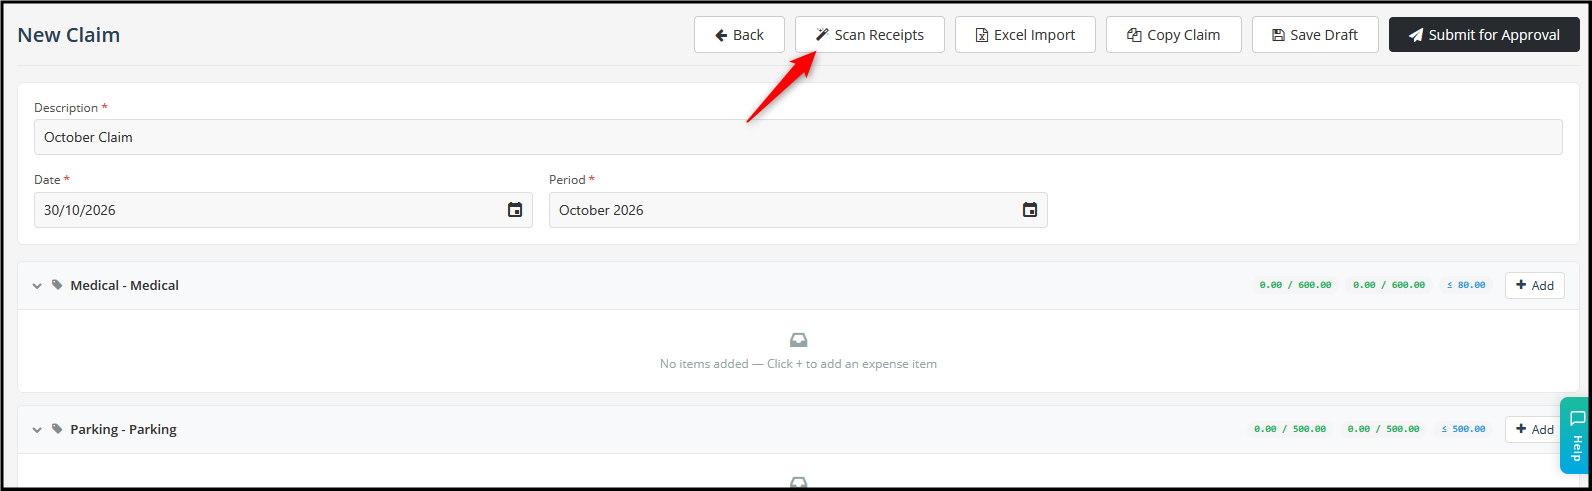
- Click Scan Receipts at the top of the page.
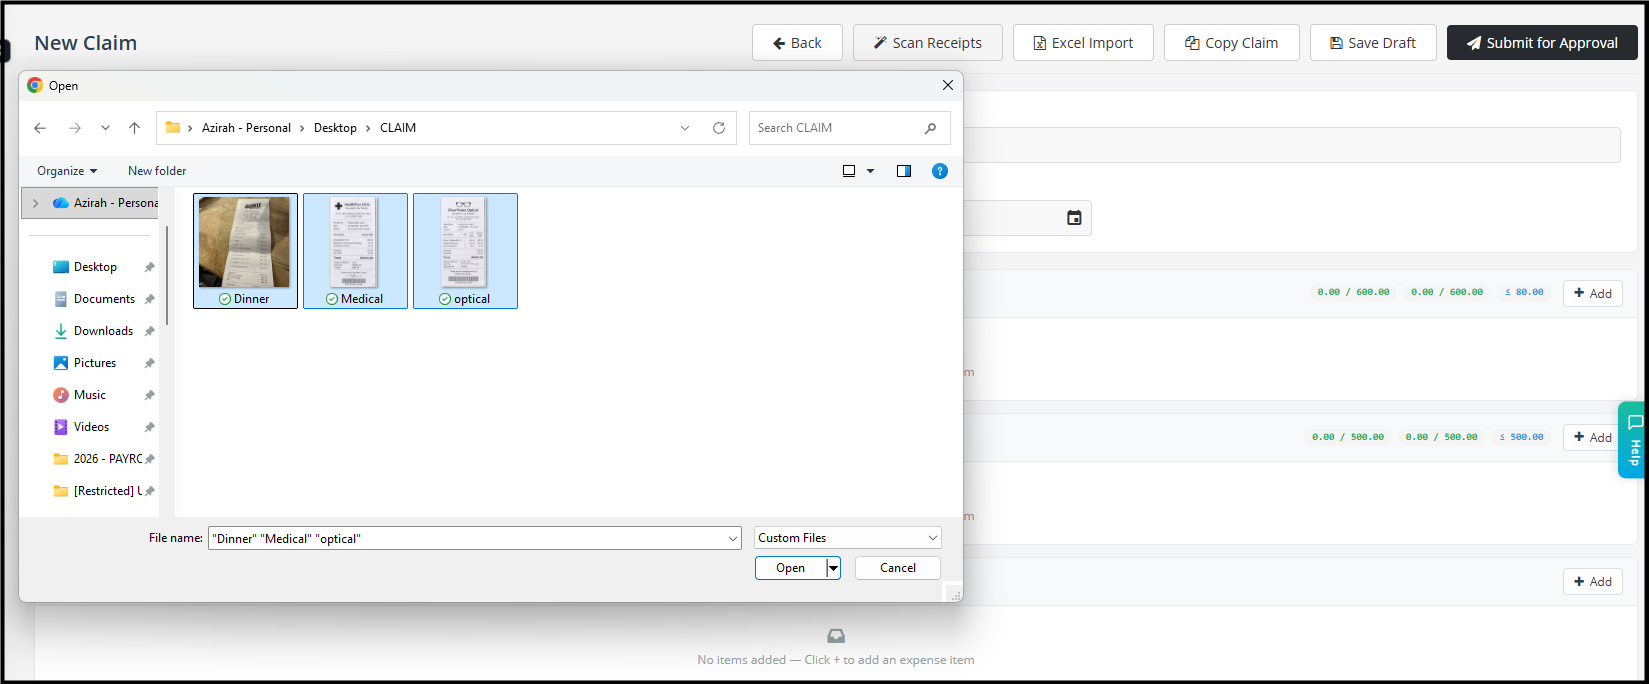
- Choose one or more receipt from your folder (you can select several at once), then click Open.
- Wait a few seconds while the system reads the receipt.
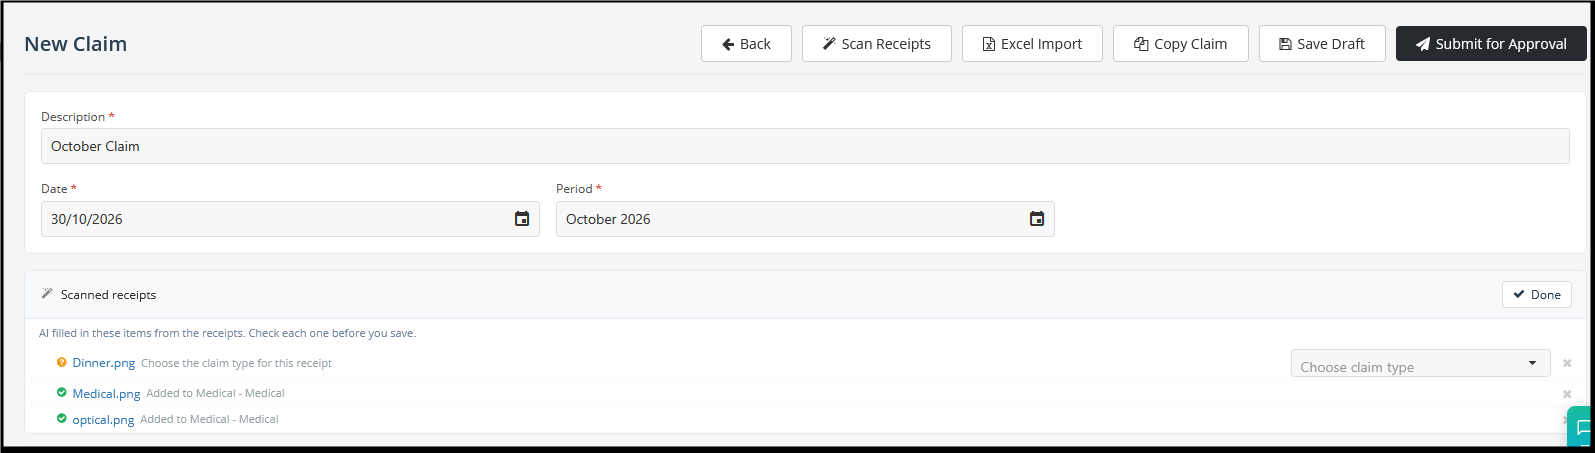
- Each receipt is added as an expense item under the matching claim type (for example, F&B or Optical). If the system cannot find a match or cannot read the receipt, choose the claim type and fill in the details yourself.
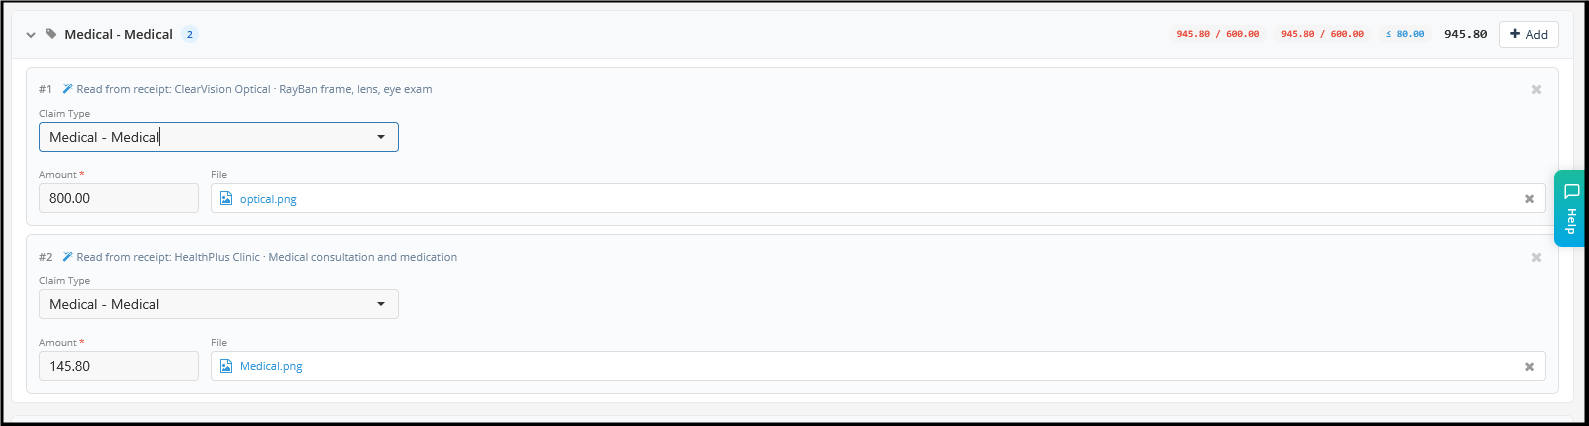
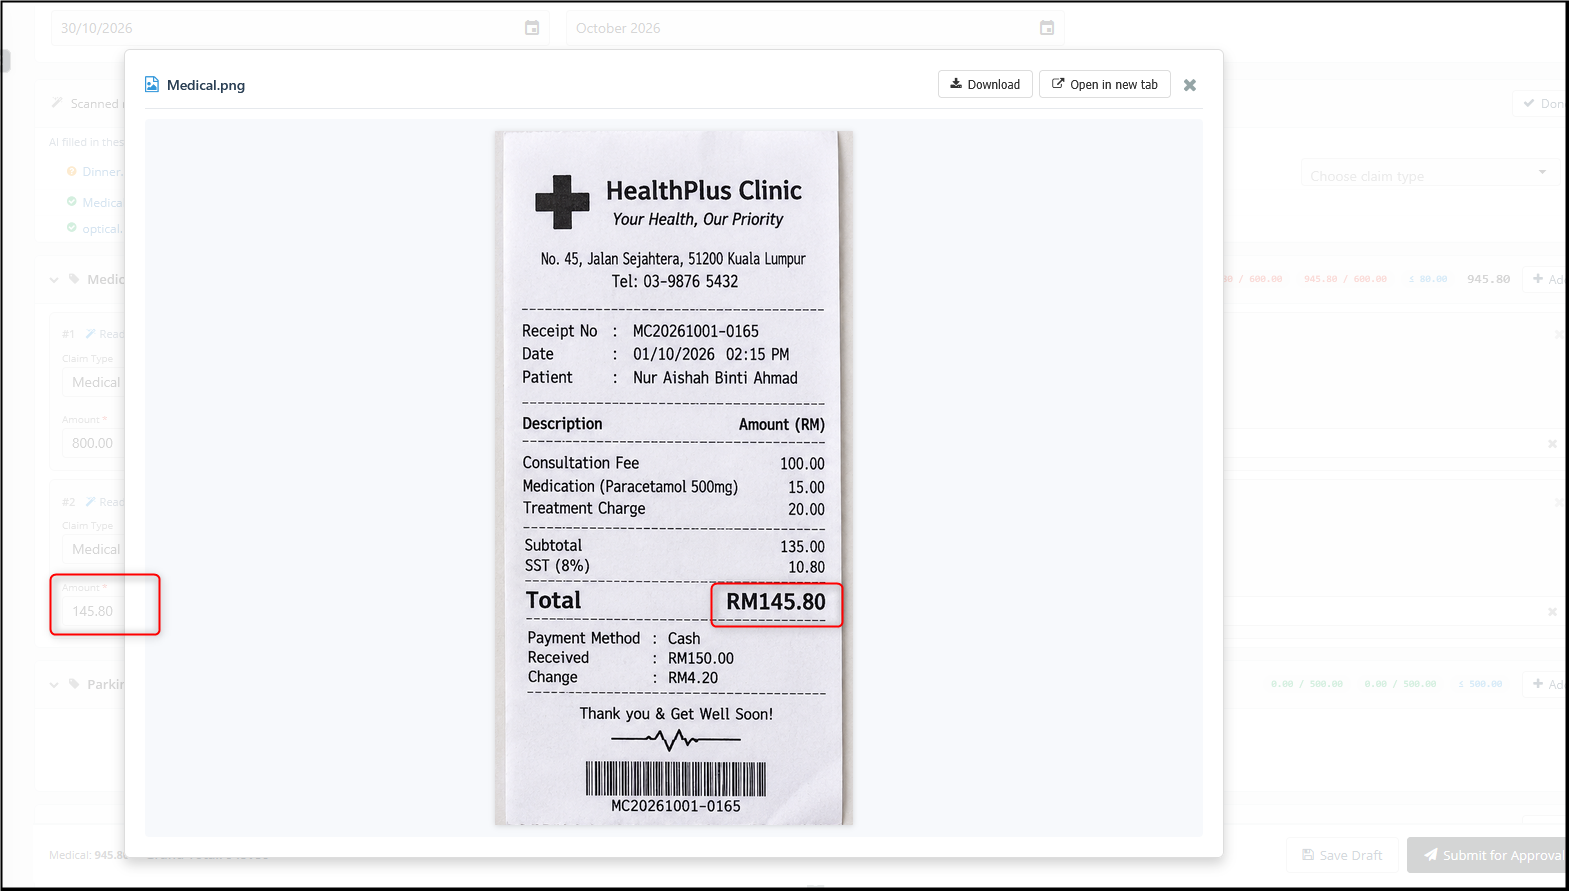
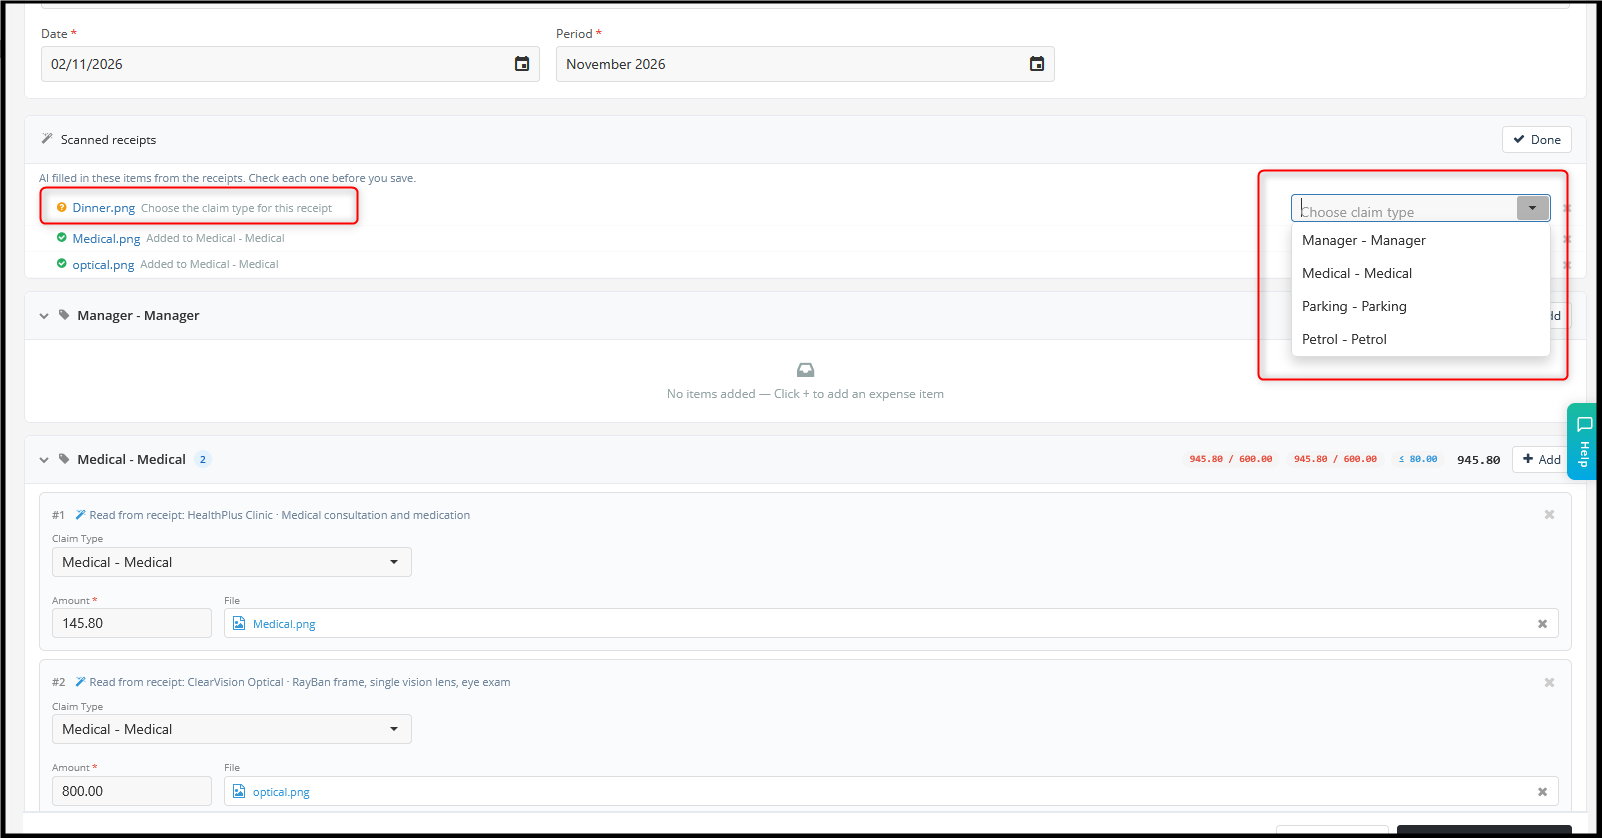
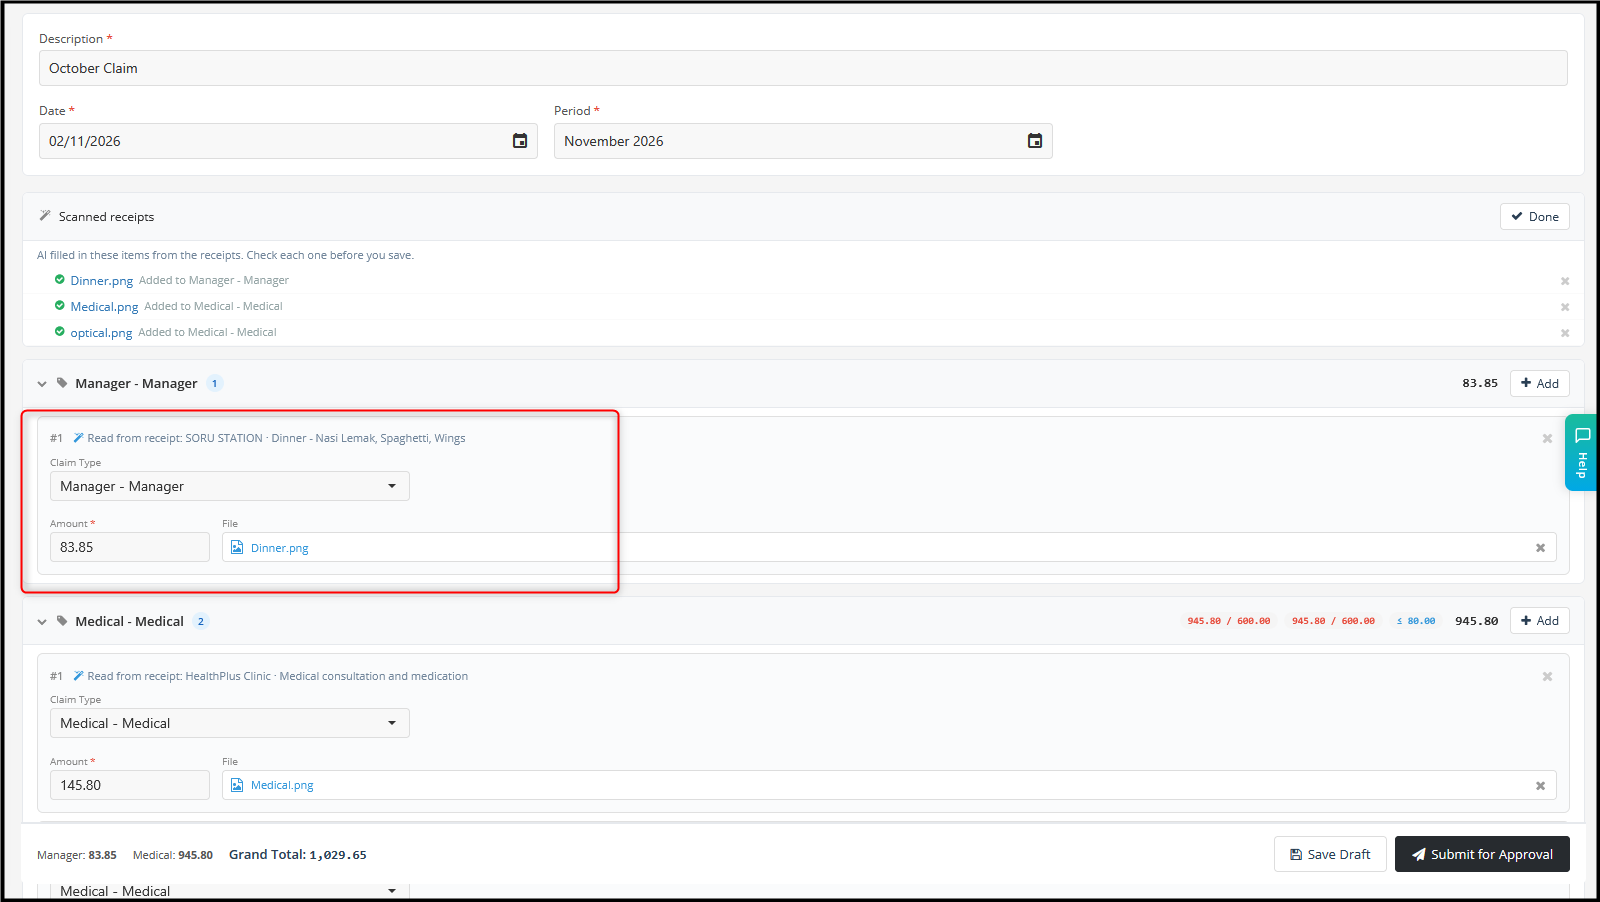
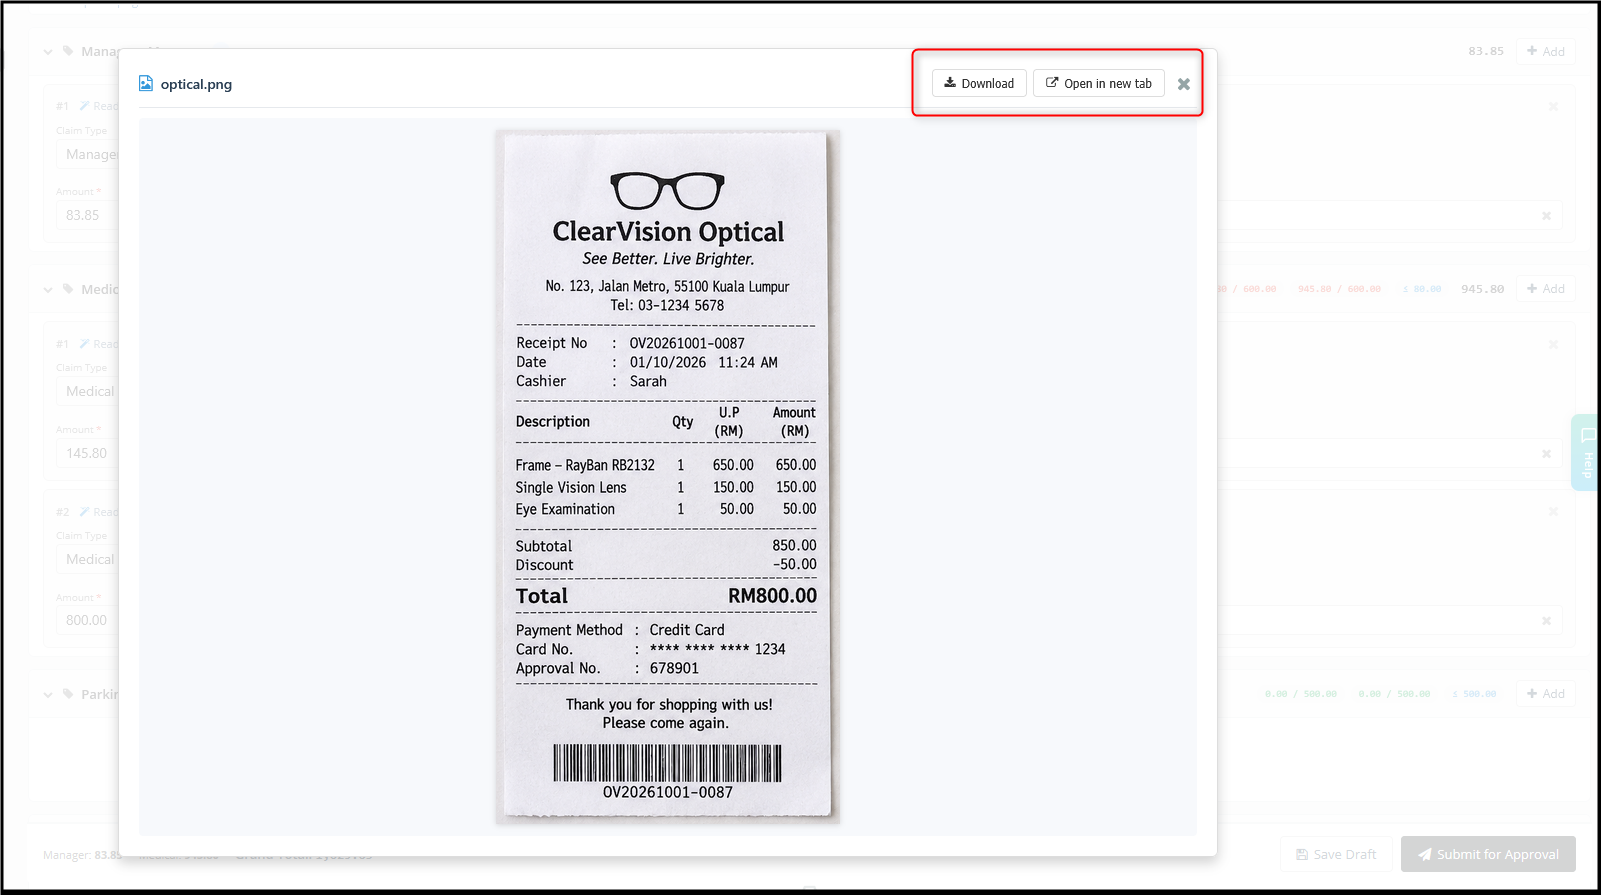
- Check every field — date, amount, claim type and description. Edit anything that is wrong. Pay special attention to the date and amount. Click the attachment to preview the receipt and compare it with what the system filled in.
- Click Save Draft to continue later or Submit for Approval when you are done.
Tips for best results
- Place the receipt on a flat, plain surface with good lighting.
- Capture the whole receipt — no cut-off edges.
- Avoid blur, shadows and glare.
- One receipt per image.
FAQ
- Some details are wrong or missing.
> Edit them directly on the expense item before you submit. - The item went to the wrong claim type.
> Delete the item and add it again under the correct claim type. - Is the receipt attached to my claim?
> Yes. The scanned image is automatically saved as the attachment for that claim item. No need to upload it again.
Minor Rework: Preview attachments
Clicking an attachment now opens a preview instead of downloading the file. This works for both images and PDFs, including for approvers in Claim Approval.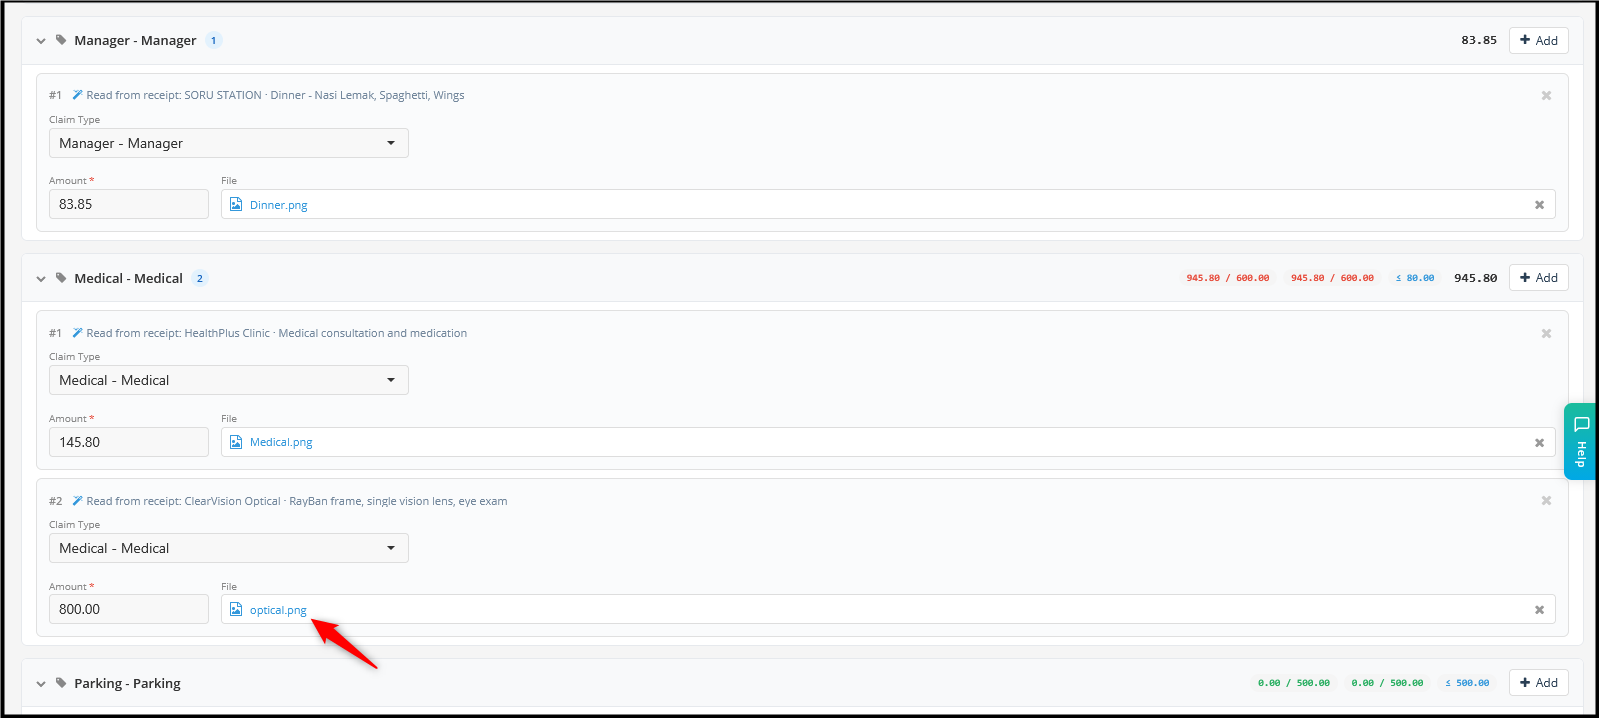
From the preview window you can:
- Download — save the file to your device.
- Open in new tab — view the file in a separate browser tab.
- Close the preview to return to the claim.